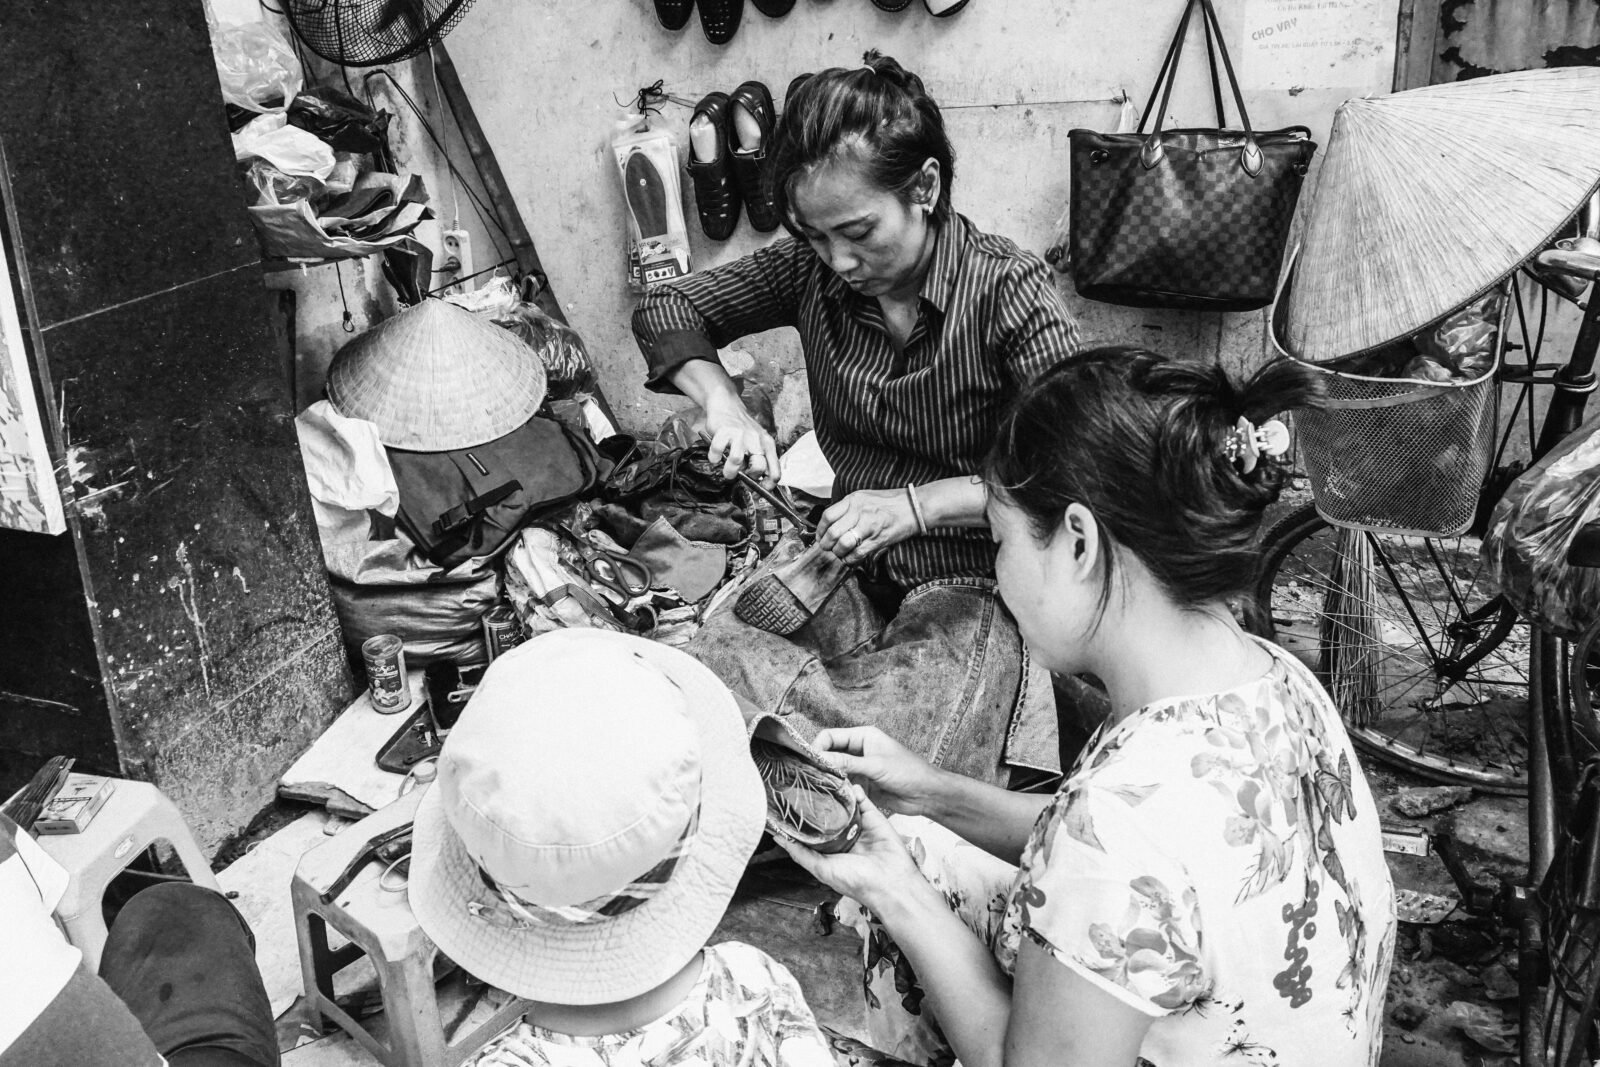
Introduction to Bag Making Using Wrappers
In recent years, the concept of upcycling has gained significant attention as a sustainable practice that transforms waste materials into functional and aesthetically pleasing items. One innovative approach to upcycling involves the creation of bags from wrappers. This DIY project not only promotes environmental sustainability but also serves as a cost-effective and creative outlet for individuals looking to repurpose materials that would otherwise contribute to landfills.
Making a bag out of wrappers is not just about reducing waste; it also encourages the exploration of artistry and craftsmanship. By repurposing chip bags, candy wrappers, or plastic wrappers, one can design unique, eye-catching pieces that reflect personal style while simultaneously playing a role in environmental conservation.
The vibrant colors and diverse patterns of wrappers offer a multitude of options, allowing for custom designs that can suit various tastes and preferences.
To embark on this project, it is essential to select the right type of wrappers that ensure durability and visual appeal. Chip bags and candy wrappers are often favored due to their sturdiness, but it’s crucial to consider their material and finish. For example, metallic wrappers provide a shiny appearance and are generally more robust compared to standard paper wrappers.
Additionally, the tools and materials required for this endeavor are minimal, typically including scissors, glue, and a sewing kit, making it accessible for individuals at any skill level.


As you explore the world of bag making using wrappers, you are not only engaging in a sustainable practice but also unlocking the potential for self-expression and creativity. This guide will provide step-by-step instructions that will simplify the process, allowing anyone to learn how to make a bag that is both functional and fashionable.
Materials Needed for Wrapper Bag Creation
Creating a bag out of wrappers requires a selection of materials that will help ensure the project is both feasible and visually appealing. Firstly, the type of wrappers is crucial; suitable materials can include plastic wrappers from snacks, candy bars, or even glossy paper from magazine pages. These types of wrappers offer a variety of colors and patterns, making your bag not only functional but also stylish. It is advisable to collect a sufficient quantity of wrappers to achieve the desired bag size and design.
Next, adhesive options are important in ensuring that your creations are durable and hold together well. Common adhesive choices include craft glue, hot glue, or double-sided tape. Each adhesive type has its pros and cons; for example, hot glue dries quickly and provides strong bonds, while double-sided tape is clean and easy to handle. Select the right adhesive based on your comfort level and the durability required for your final piece.
In terms of tools, you will need basic supplies such as scissors for cutting the wrappers into manageable pieces, a ruler for measuring dimensions accurately, and a pencil for marking where you will apply adhesive. These tools will facilitate a smoother process and improve the overall quality of your bag. Additionally, it is wise to have a cutting mat or a similar surface to protect your workspace.


Lastly, optional decorative elements can enhance the aesthetic appeal of your bag. Consider adding beads, buttons, or embellishments that can be sourced from craft stores or even repurposed from other items around your home. Integrating these decorative touches can transform a simple wrapper bag into a unique accessory, showcasing your creativity and individual style.
Step-by-Step Instructions for Crafting the Bag
Creating a bag out of a wrapper requires a series of organized steps to ensure a successful outcome. The first step in the process is the preparation of the wrappers. Start by selecting an appropriate wrapper, such as candy or snack wrappers. Thoroughly clean the wrappers to remove any residue or adhesive. Once clean, cut the wrappers into uniform squares or rectangles; this will provide consistent pieces for assembly.
After preparing the wrappers, lay out the design for your bag. You can choose a simple rectangular design or be more creative with patterns and shapes. Arrange the cut wrappers on a flat surface in the desired layout, ensuring that they overlap slightly to maintain strength. This overlapping technique will enhance durability once the bag is completed.
Next, begin assembling the bag. Start by folding the edges of each wrapper to keep the overall structure neat and secured. Use a strong adhesive, such as fabric or craft glue, to adhere the wrappers. Apply glue carefully at the overlapping sections to ensure the materials bond properly. Additionally, consider reinforcing the corners by folding and gluing extra wrappers to enhance stability.
When securing the bag structure, ensure that all parts are firmly attached and allow ample drying time. This is crucial for achieving a sturdy finish. For added customization, you can alter the size of the wrappers or incorporate additional materials such as beads or ribbons for embellishment, tailoring your bag to match your personal style.

By following these detailed steps, you will effectively understand how to make a bag that is both functional and aesthetically pleasing. The attention to wrapping techniques, folding, and securing will result in a strong and unique creation.
Final Touches and Care Instructions for Your Wrapper Bag
Once you have successfully constructed your bag from wrappers, it is time to consider the final touches that not only enhance its aesthetic appeal but also ensure its functionality. One of the most important aspects is the addition of handles. You can create handles using additional wrappers or any suitable material such as fabric or rope. To attach the handles securely, make small slits on either side of the bag and weave the material through before knotting it tightly. This method will provide both strength and style, allowing you to carry your bag with ease.


If you wish to provide extra refinement, considering lining the bag can be very beneficial. A simple fabric liner can add texture and color to your creation. To line your wrapper bag, measure the interior dimensions and cut your fabric accordingly. After stitching the liner, you can either tuck it into the bag or securely sew it in place. A well-lined bag not only enhances its appearance but also protects the wrappers and adds durability, making it a practical choice for everyday use.
Personalization is the key to making your wrapper bag uniquely yours. You can add decorative elements such as patches, embroidery, or painted designs that represent your style. These embellishments can be a reflection of your personality and creativity, making your bag truly one-of-a-kind. Experiment with various materials and techniques until you achieve a look that resonates with you.
To maintain the longevity of your wrapper bag, proper care is essential. Avoid exposing it to excessive water or direct sunlight, which may cause the colors to fade or materials to weaken. When it comes to cleaning, opt for a gentle hand wash if necessary, ensuring that the wrappers remain intact. For storage, keep your bag in a cool, dry place, and consider using a dust bag to protect it from dust and damage. By following these care instructions, you will be able to enjoy your handcrafted bag for many years to come.
We encourage you to share your creative endeavors and variations of how to make a bag. Joining a community of fellow crafters not only inspires others but also allows you to gain insights from their experiences. Celebrate your creativity and enjoy the journey of making your unique wrapper bag!


